How to Choose and Install Glass Mosaic Tiles: A Step-by-Step Guide
When installing glass mosaic tiles, it’s important to first identify the type of tile you are working with. The three most common types are:
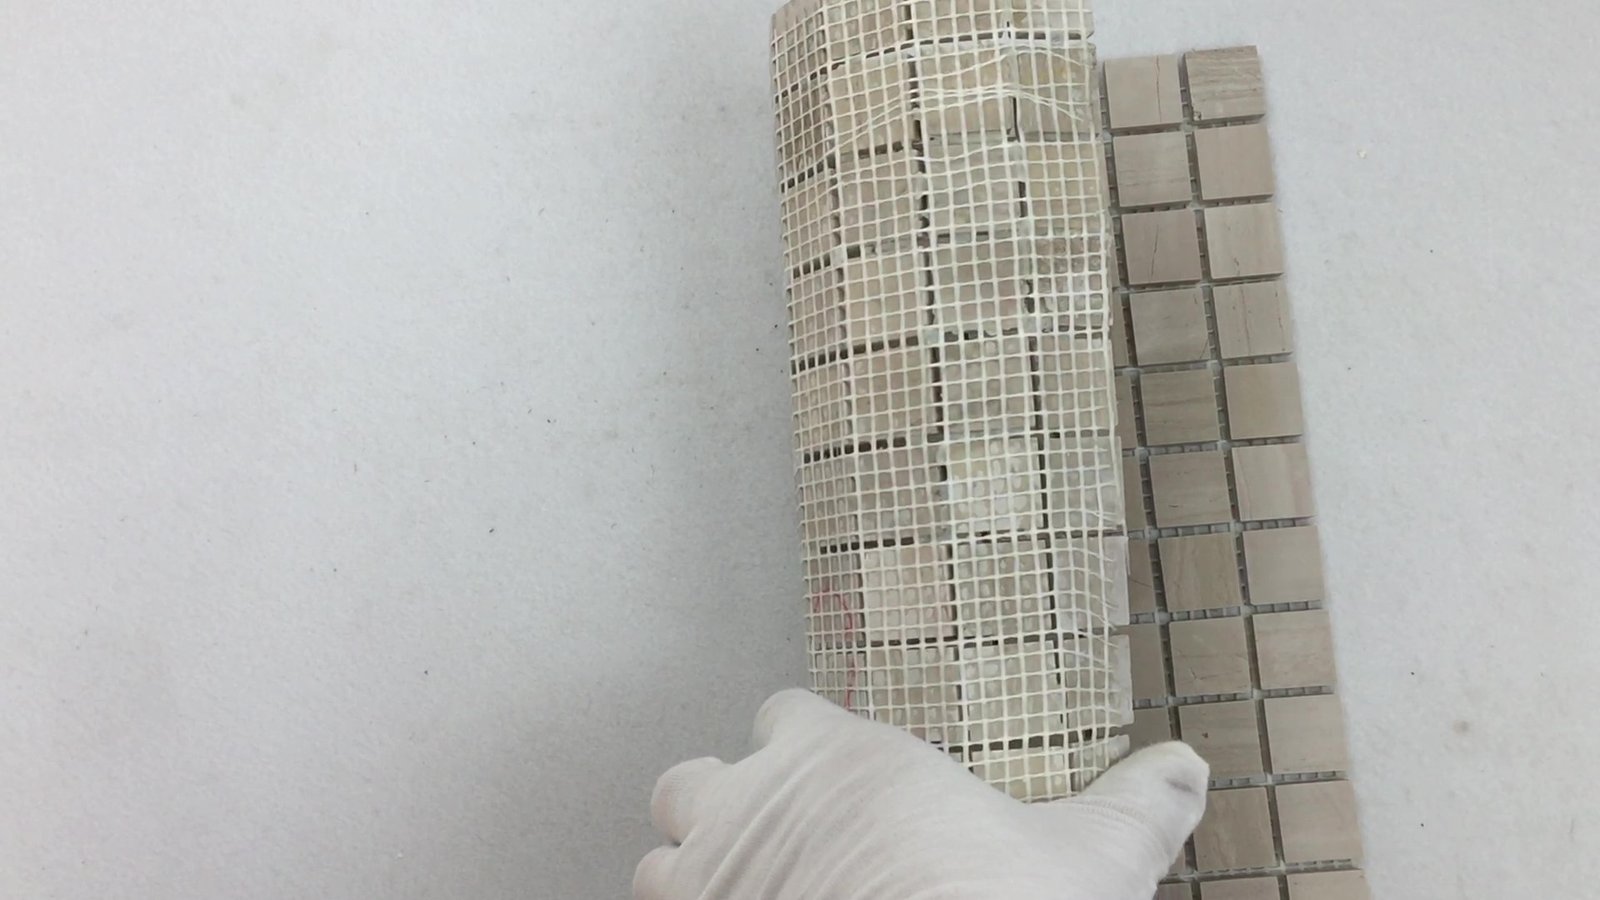
Mesh-backed glass mosaic tiles
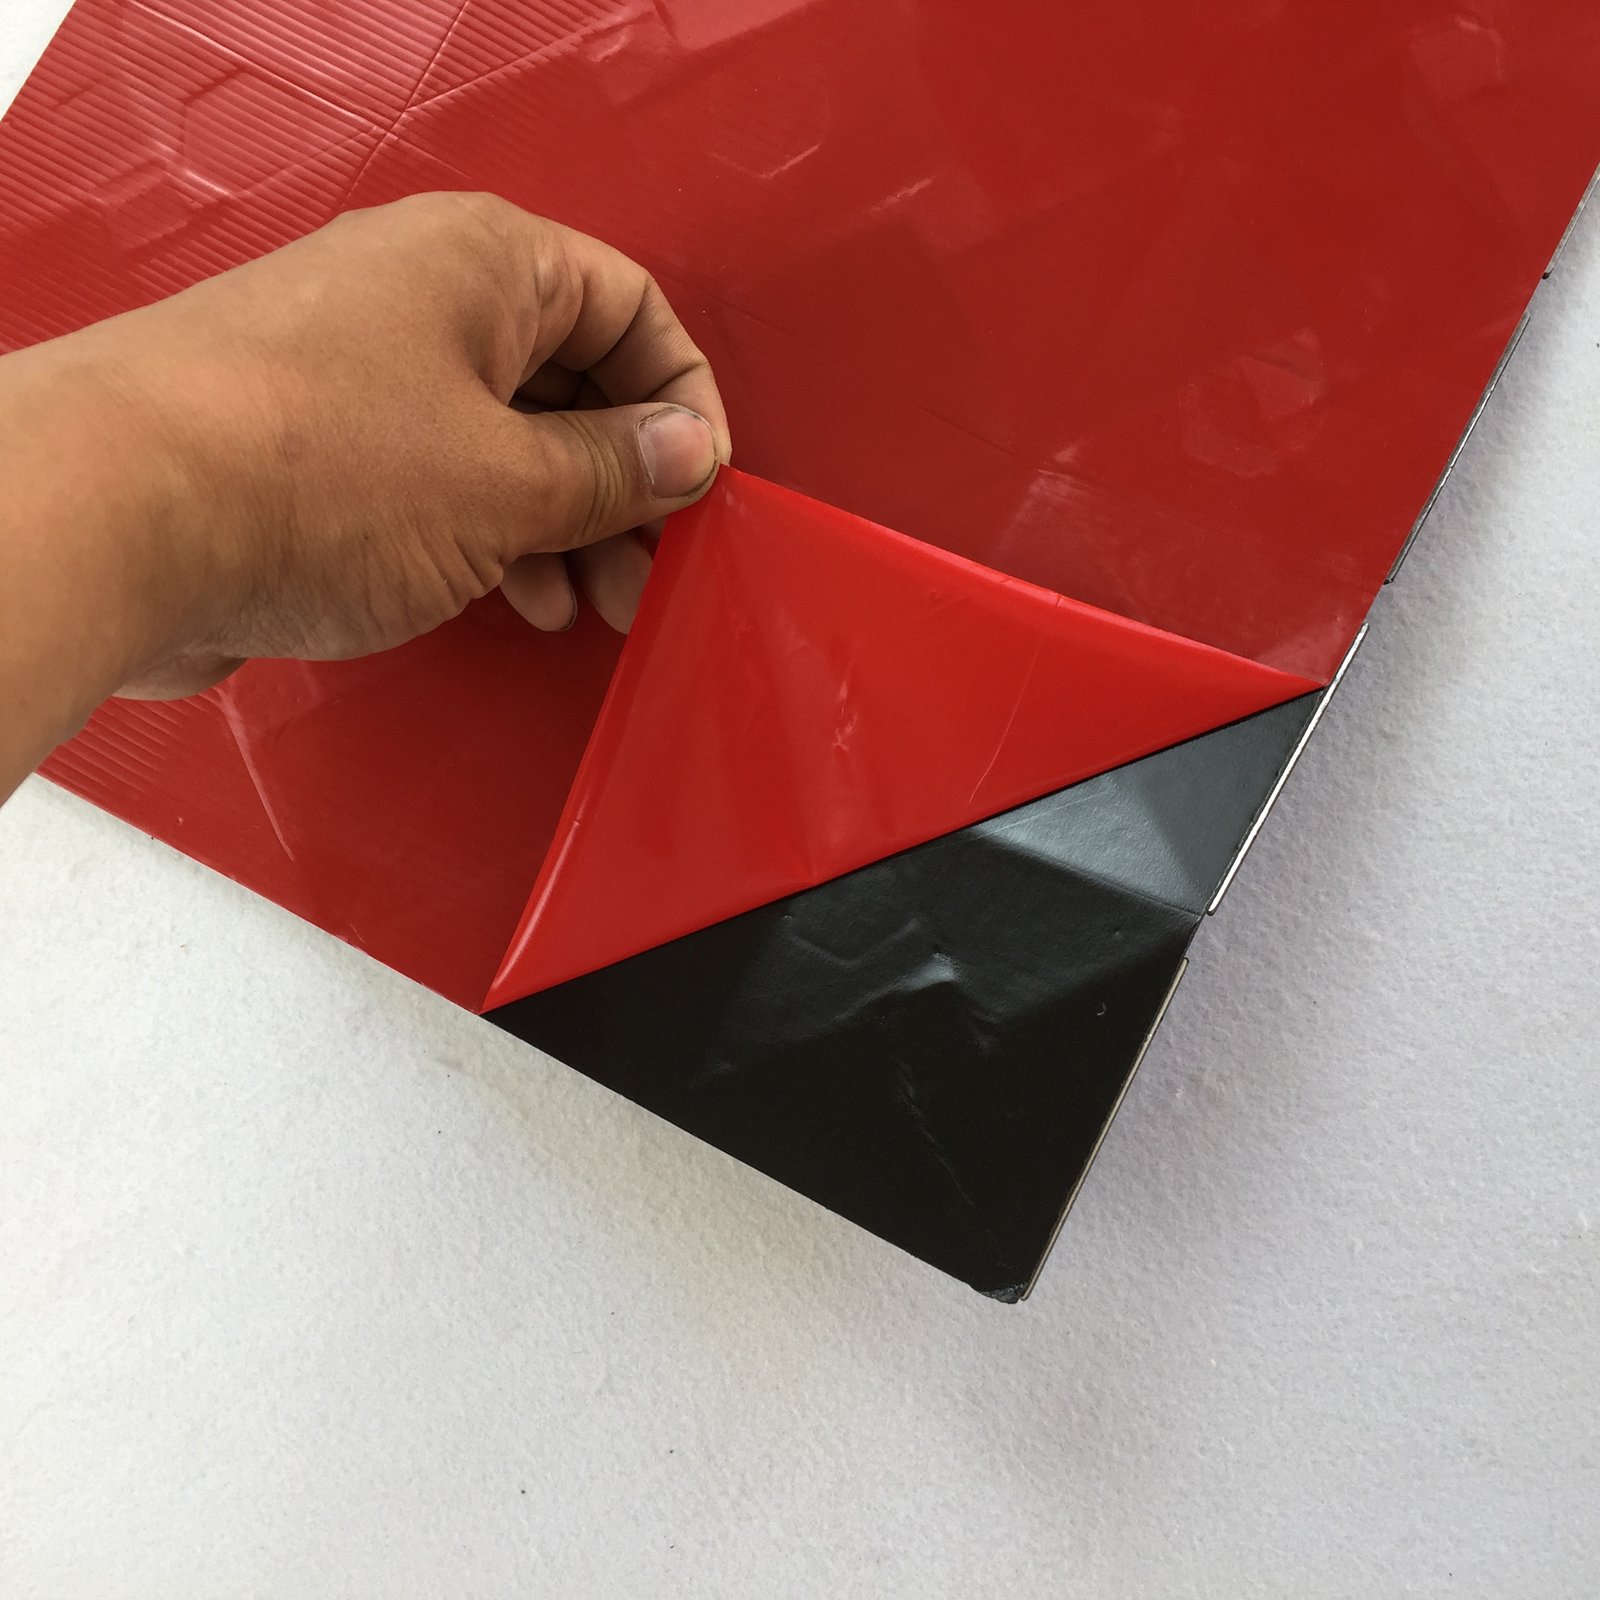
Double-sided adhesive-backed glass mosaic tiles
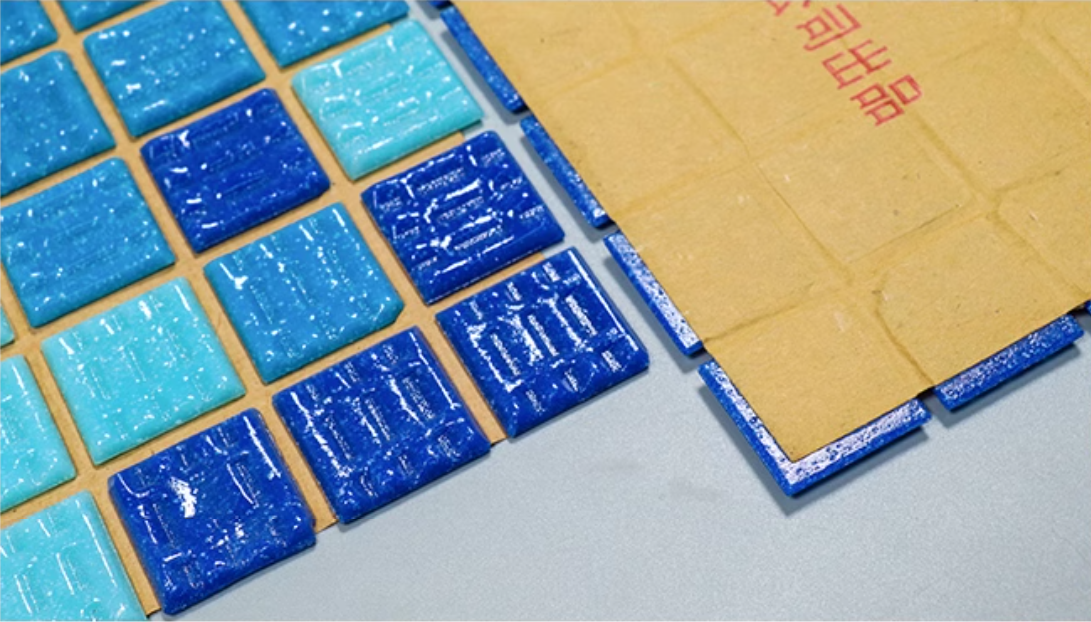
Paper-fronted glass mosaic tiles
Each type requires specific preparation and installation methods. Below, we’ll outline the best practices for each type to ensure a smooth installation process and long-lasting results.
1. Mesh-Backed Glass Mosaic Tiles
Mesh-backed glass mosaic tiles have a grid of mesh on the back, holding the small tiles in place. This type requires the use of a specialized mosaic adhesive that bonds effectively to the mesh and ensures a secure hold.
Installation Tips:
Adhesive: Use a high-quality mosaic tile adhesive, specifically designed for this type of installation. The adhesive should provide a firm bond with the mesh, preventing the tiles from detaching.
Application: Spread the adhesive evenly on the wall or floor with a notched trowel, ensuring consistent coverage. Gently press the mesh-backed tile sheet into the adhesive, making sure it adheres evenly across the surface.
Positioning: Use tile spacers to ensure uniform spacing between sheets. Once the adhesive dries, grout the tiles and clean off any excess.
For a detailed guide on how to install mesh-backed mosaic tiles, [click here].
2. Double-Sided Adhesive-Backed Glass Mosaic Tiles
This type of tile comes with a strong double-sided adhesive pre-applied to the back, allowing for quick installation. However, the adhesive is very strong, meaning precise placement is crucial.
Installation Tips:
Surface Preparation: Ensure the wall surface is clean, dry, and free from dust or debris. Any dirt or imperfections could affect the adhesive’s ability to bond properly.
Adhesive Strategy: To provide flexibility during installation, spread a thin layer of silicone sealant on the wall. This will allow for minor adjustments before the adhesive sets. Structural adhesive takes up to two hours to harden, providing ample time for repositioning.
Apply Thinly: Apply a very thin layer to prevent the tile sheets from sliding down the wall. Once positioned, press the tiles firmly into place.
For a detailed installation guide, [click here].
3. Paper-Fronted Glass Mosaic Tiles
This is one of the more traditional methods of mosaic tile installation. The paper is on the front of the tile sheet, allowing the adhesive or thin-set mortar to bond directly to the back of the tiles.
Installation Tips:
Adhesive Choice: You can use either cement-based thin-set mortar or a mosaic adhesive. Apply it evenly on the installation surface.
Tile Placement: Press the tile sheets into the adhesive with the paper side facing out. Once the adhesive has dried, dampen the paper and carefully peel it off.
Grouting: After the paper is removed and the adhesive has fully set, grout the spaces between the tiles as usual, then clean the surface thoroughly.
For more details on how to install paper-fronted mosaic tiles, [click here].
Key Considerations for Installing Glass Mosaic Tiles
Regardless of the type of glass mosaic tile you’re using, the following factors will significantly impact the quality and longevity of your installation:
Surface Preparation: Always ensure the wall or floor surface is clean, dry, and even before installation.
Adhesive Selection: Choosing the right adhesive is crucial. For mesh-backed tiles, a specialized mosaic adhesive is recommended, while for adhesive-backed tiles, structural glue can provide flexibility during placement.
Precision and Timing: Glass mosaic tiles are often small and intricate, requiring precise positioning. Make sure to leave enough time for adjustments, especially with adhesive-backed tiles.
By following these guidelines, you can ensure that your glass mosaic tile installation will be both beautiful and long-lasting. Proper preparation, the right materials, and attention to detail are the keys to a successful project.
